Intro to Cyanotypes
By GD Photo Network

We know a lot of folks are still hunkered down at home, so we wanted to share a fun photo activity that one of our project mangers recently experimented with during their time in quarantine.
The cyanotype printing process dates back to 1842, and creates rich cyan-blue contact prints from the production of ferric-ferricyanide, which is a pigment found in many high-end paints. Potassium Ferricyanide and Ferric Ammonium Citrate solutions are mixed in equal parts, creating light-sensitive chemistry that is used to coat the printing surface of your choice. Printing surfaces can include paper, textiles, or any other naturally absorbent material. Objects or negatives are placed on the sensitized paper in subdued lighting, and then left out under the sun or a UV light source to expose.
Suggested Materials
Chemistry – Ammonium Ferric Citrate and Potassium Ferricyanide
Water (distilled if possible)
Measuring beakers
A jar
Brushes (foam or wide brushes)
Printing paper
Disposable gloves
Developing trays
Hydrogen peroxide
Piece of glass or plexiglass
Objects or negatives for printing

Process
1. Prepare your chemistry according to instructions.
There are different options for purchasing cyanotype chemistry – if you purchase powdered chemicals, you will need to mix your solutions from scratch and store them in plastic dark brown or black storage containers with plastic tops. You can also look into purchasing pre-made formulas that are available in liquid and powdered forms.
In subdued lighting and using protective gloves, create your light-sensitive solution by mixing equal parts of your Ammonium Ferric Citrate and Potassium Ferricyanide solutions. Once the two have been mixed, this solution becomes light-sensitive and will last only for 2-4 hours, so be sure to only mix as much as needed and be ready to use it right away.
2. Coat your printing surface or paper.
Apply your chemistry evenly onto your printing surface using a wide or foam brush. Make sure you are using just enough chemistry to evenly absorb into the paper. Avoid over-saturating the surface because droplets will form, creating uneven concentrations of chemistry. Leave your sensitized paper in subdued lighting to dry completely before exposing.
3. Prepare your objects for printing.
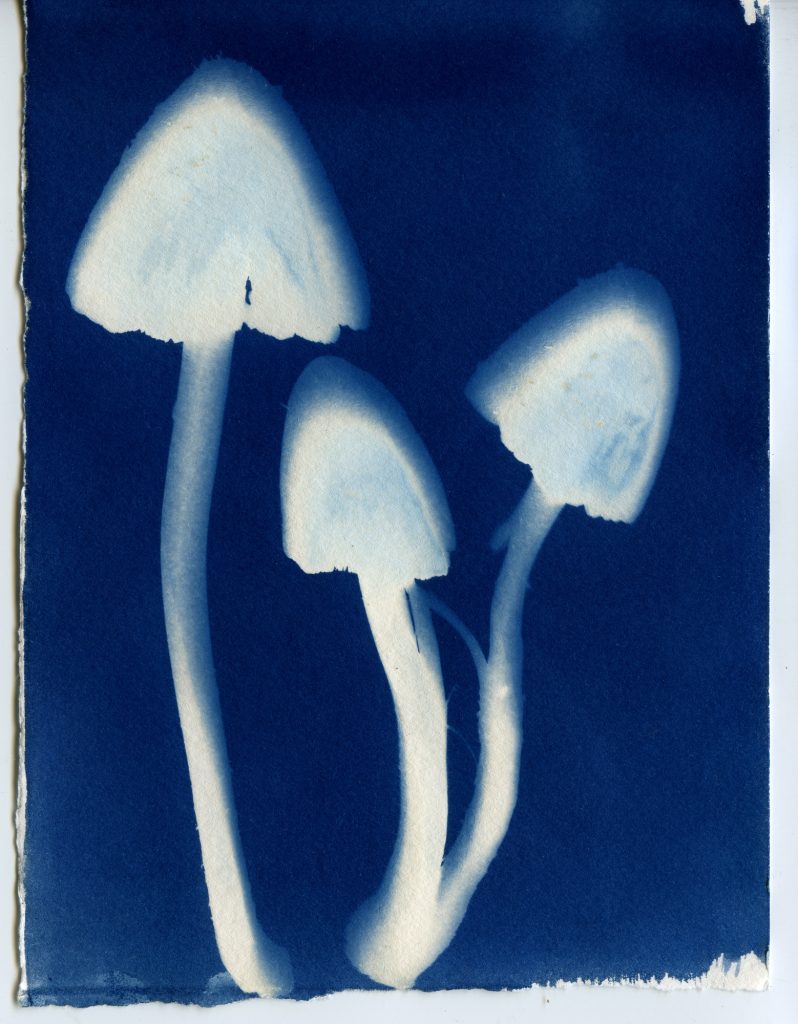
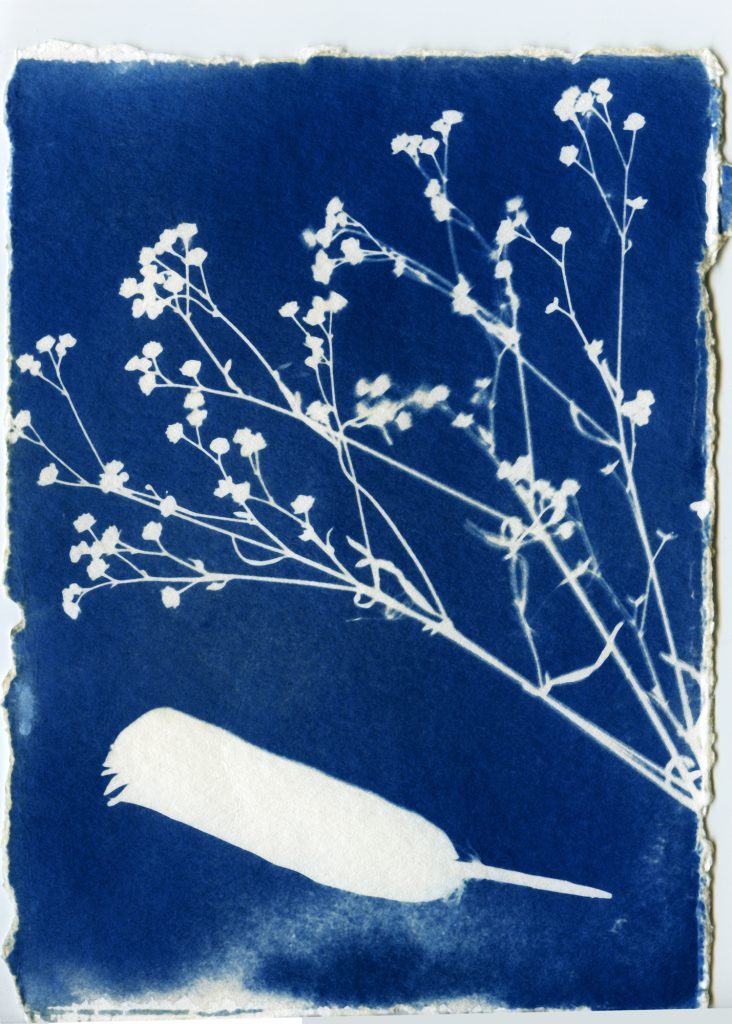
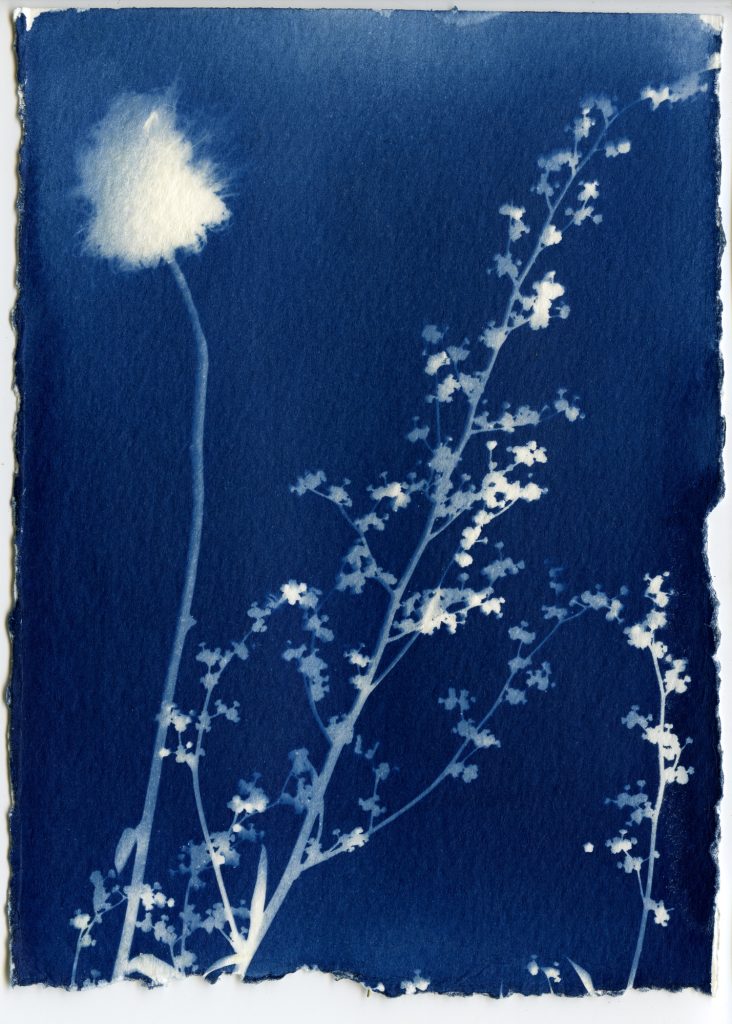
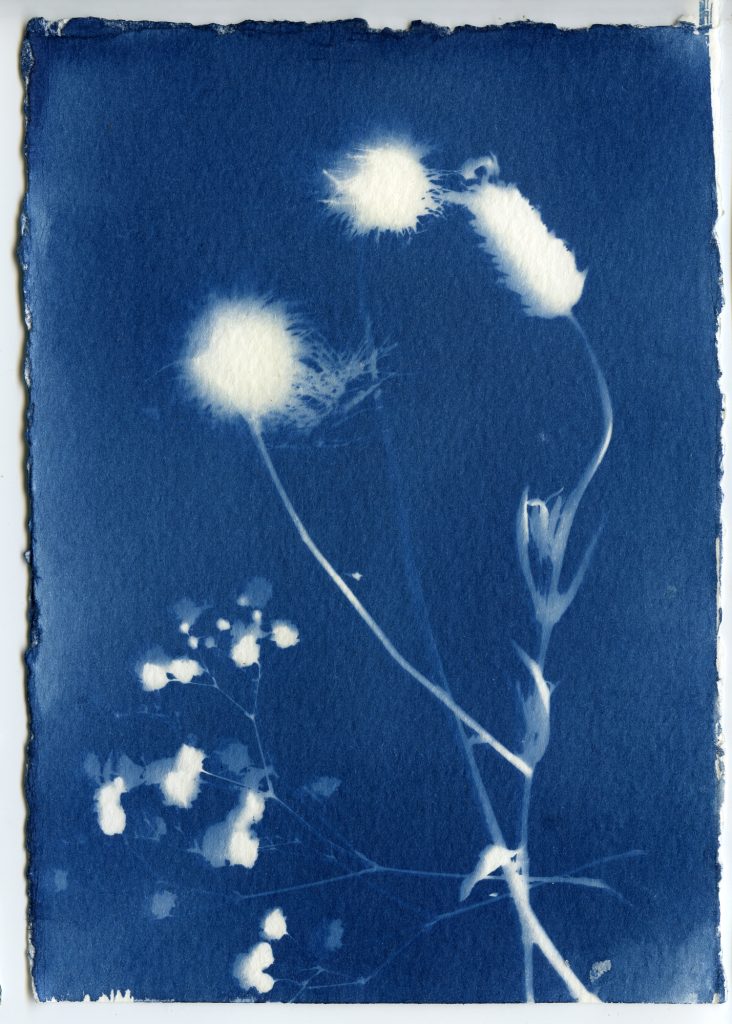
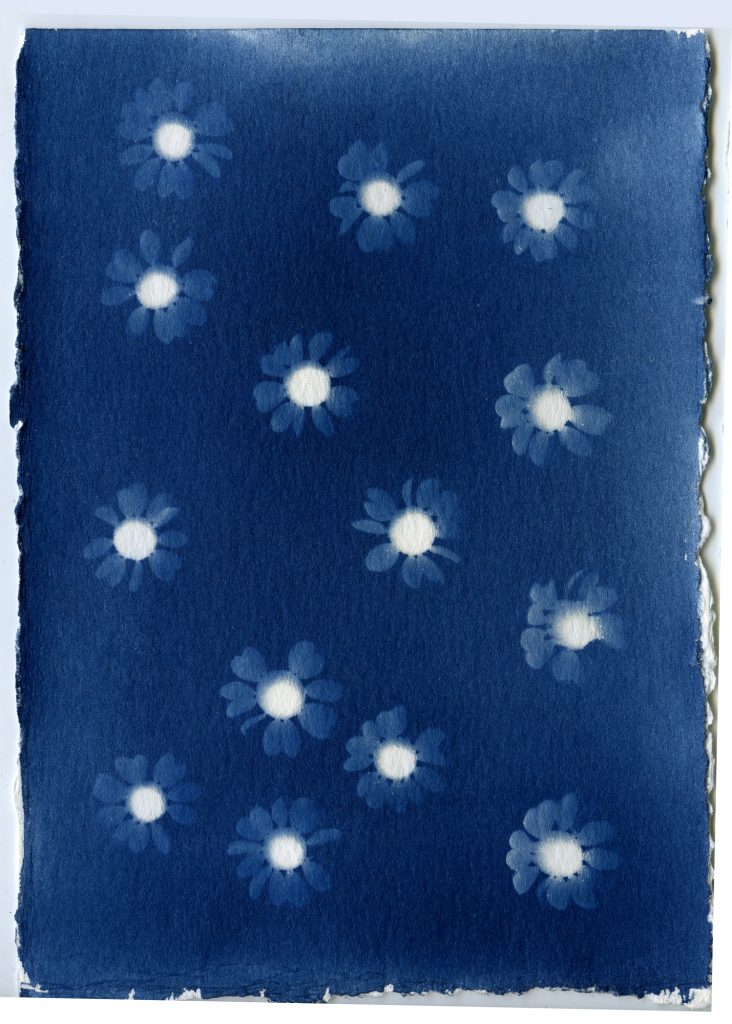
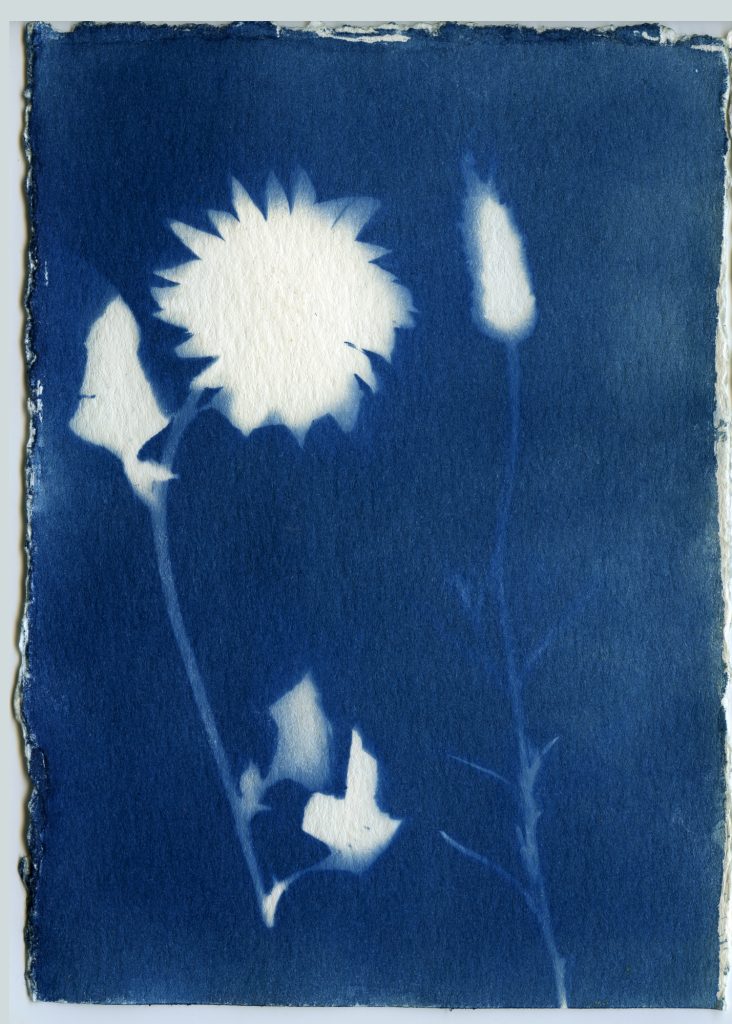
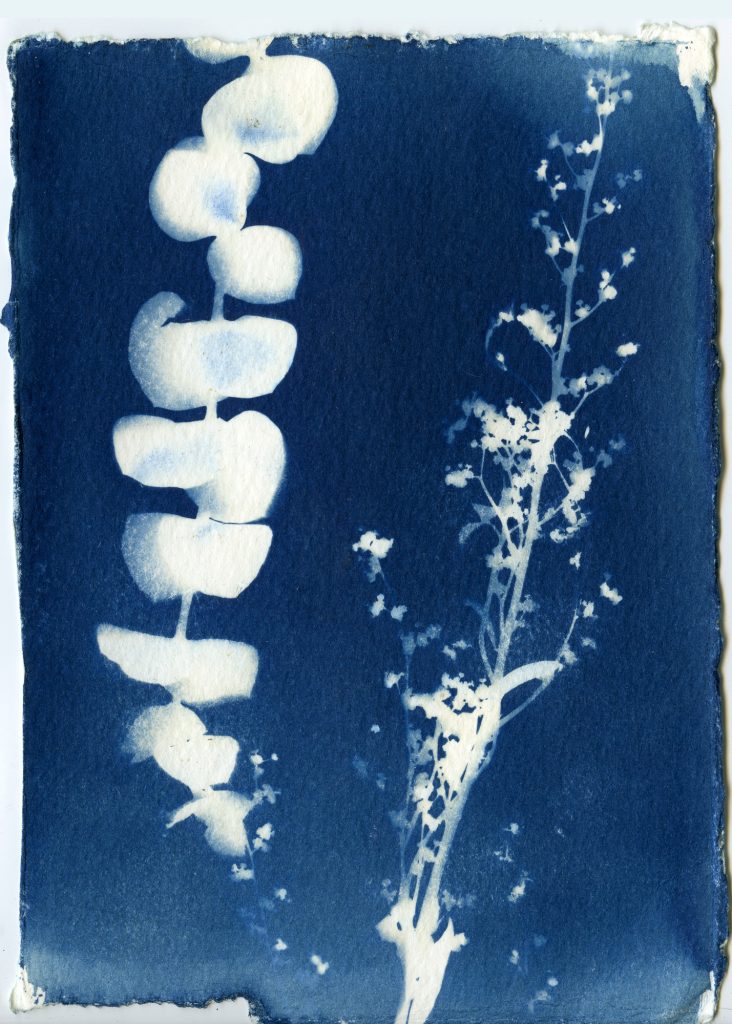
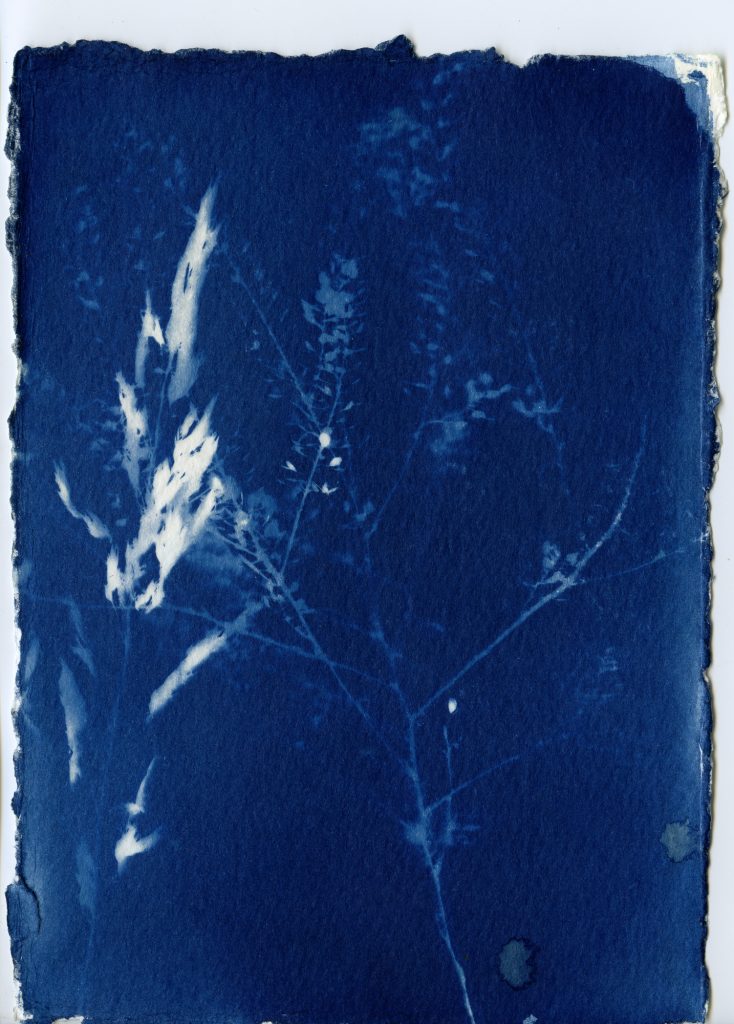
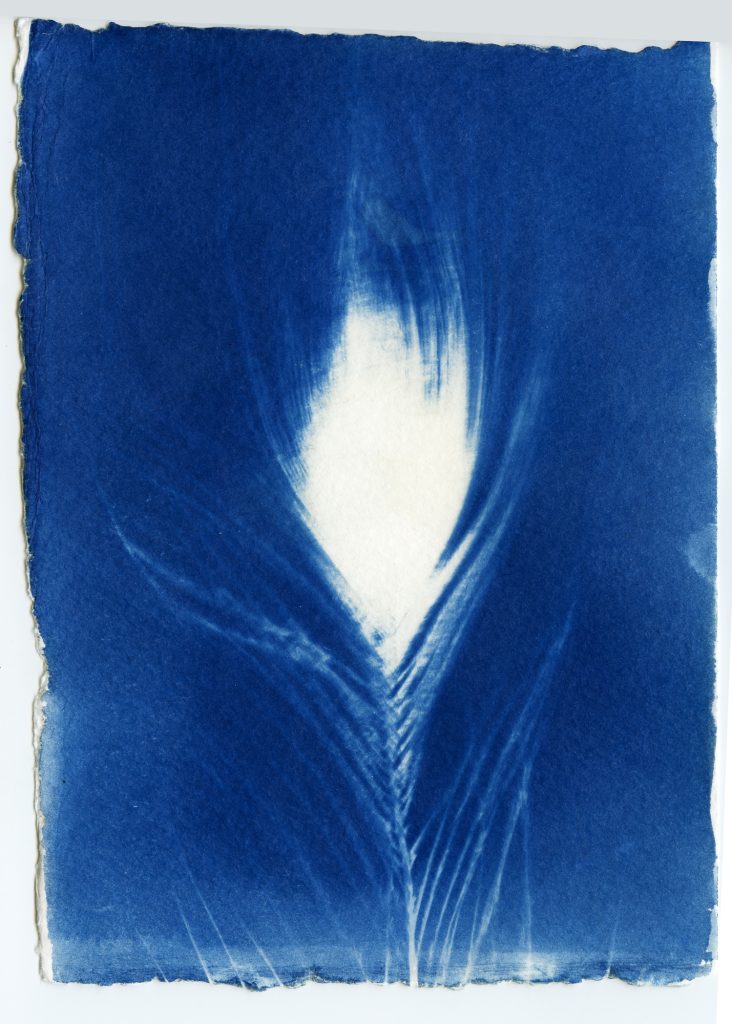
When selecting objects for your cyanotypes, consider their transparency, density, and silhouette. Organic materials such as leaves, flowers and branches work really well for cyanotypes. Other objects such as feathers, shells, glass, lace, papers can also be used. Experiment with different objects and exposure times to create interesting, unpredictable results.
Arrange objects on your paper in subdued lighting. Before placing your paper out in the sunlight to expose, consider making some test strips to get a feel for your exposure. Exposure times will vary depending on the strength of the UV light that day, and range anywhere from 30 seconds to 30 minutes.
4. Expose your prints.
Leave arranged objects on your sensitized paper out in the sun to expose, undisturbed. Experiment with using glass or plexiglass to sandwich objects closer to the paper.
5. Prepare your wash baths.
Once your paper is done exposing, remove the objects and rinse your prints under cold water for about 5 minutes. You should see yellow chemistry coming off your paper, so be sure to wash your prints until the water runs clear. The print will be a light blue. As it dries it will oxidize and turn a darker blue.
6. Prepare your hydrogen peroxide bath (optional).
To more fully develop the blue image, rinse the cyanotype print in a weak solution of water with a splash of hydrogen peroxide. After about a minute in this bath, remove print and wash again in plain water.
7. Dry and flatten your prints.
Let prints dry completely. If you used very absorbent paper, and it has curled throughout the printing process, you can flatten your prints under a stack of heavy books.


Tags: